
How to Make Ethiopian Injera:
May 5, 2024

super easy
a step-by-step guide
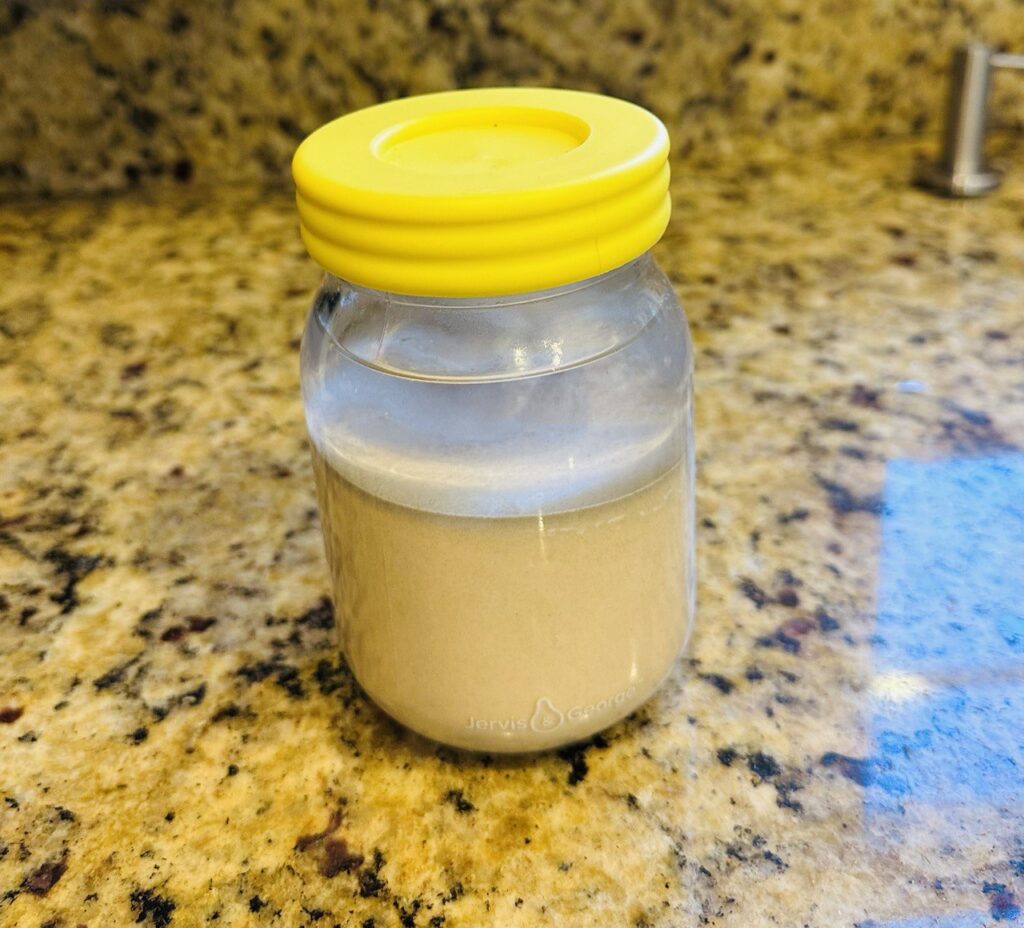
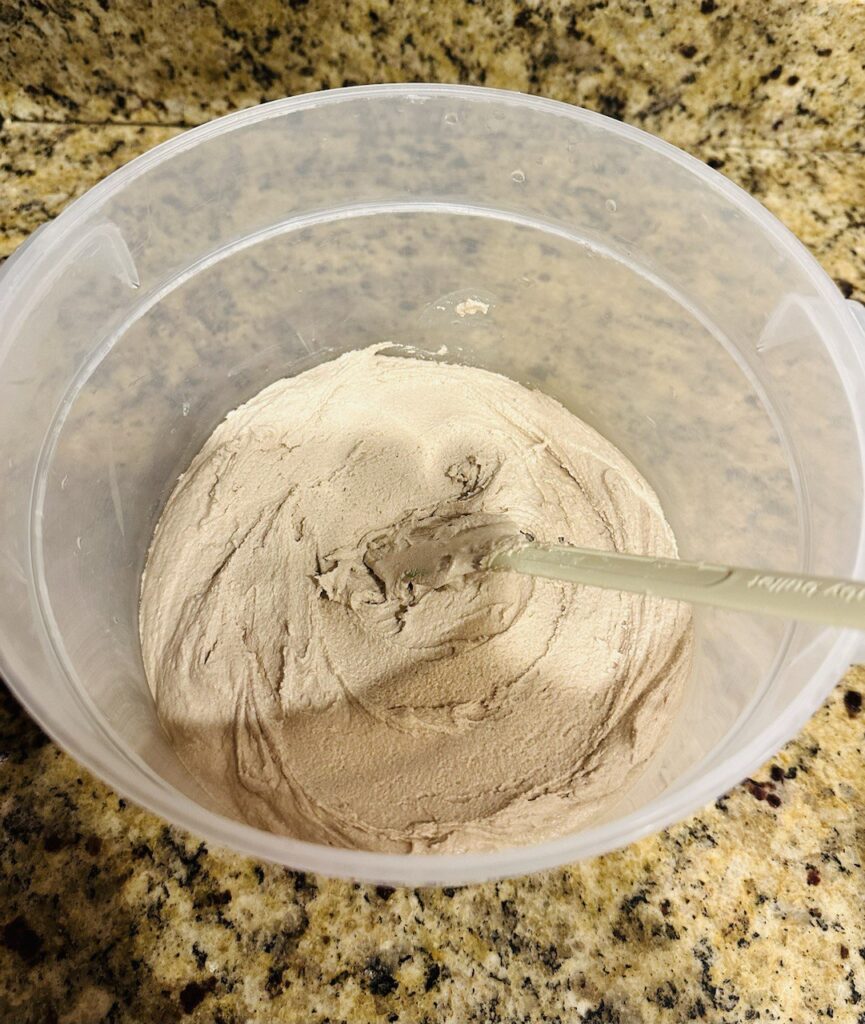
Step 1: Starter
I saved this from my previous time making injera. I took it out of the refrigerator and will let it sit on my counter overnight.
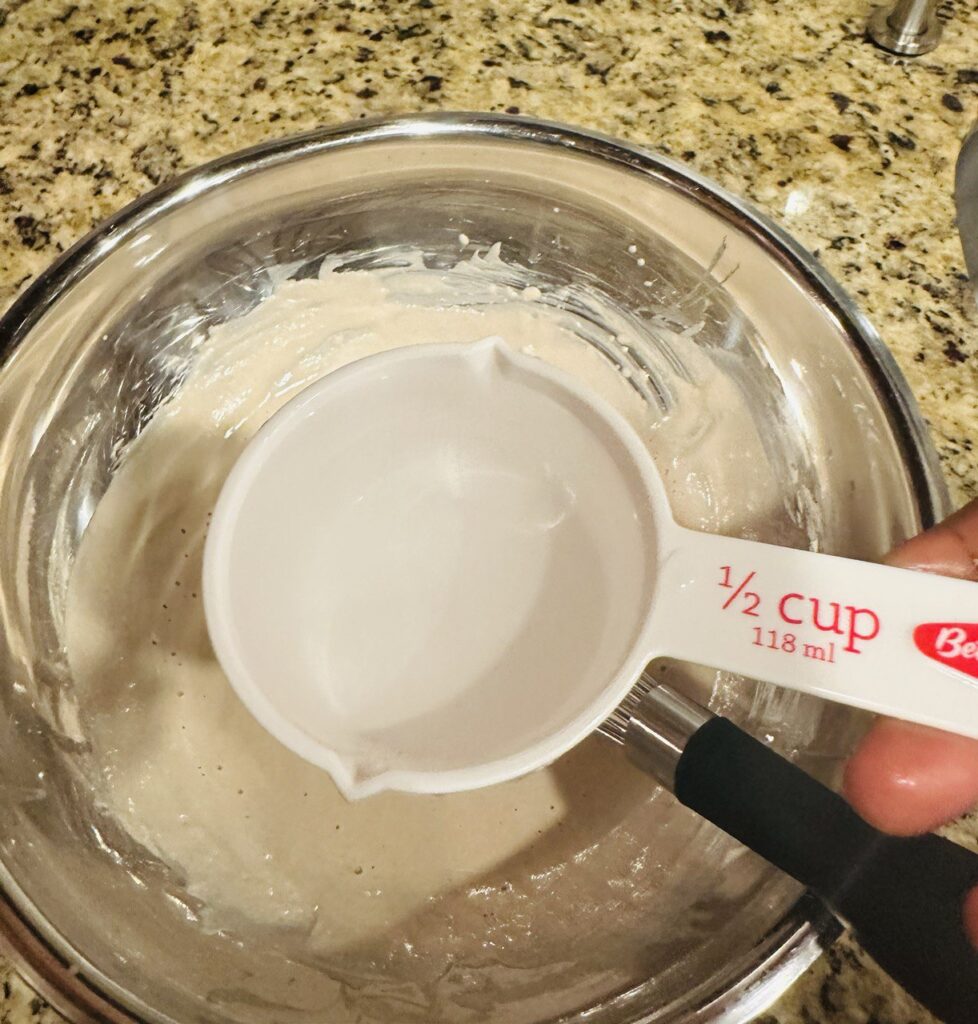
Step 2:
Pour out the water on the top. Then, feed the ‘starter’ into a different container with 1/2 cup of teff powder and 1/2 cup of warm water.
Cover it tightly and let it sit on the counter overnight.
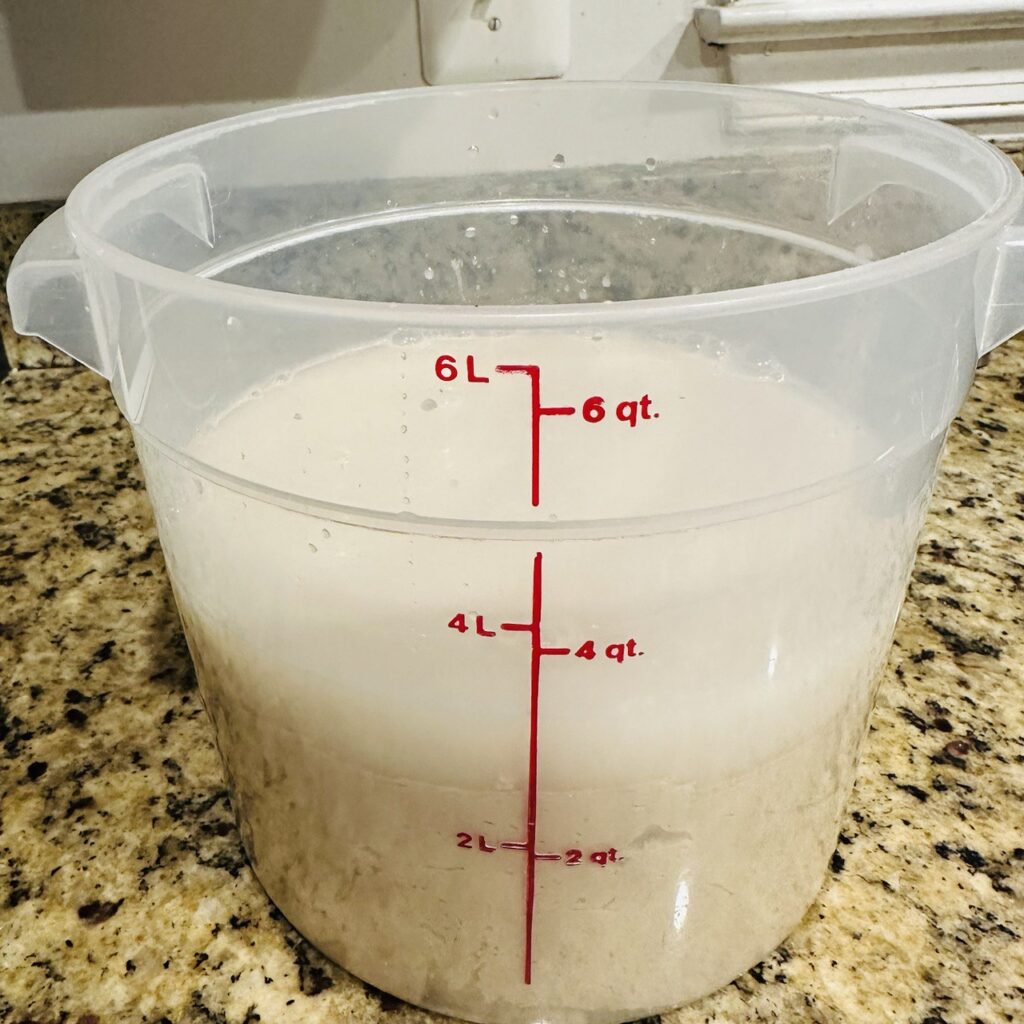
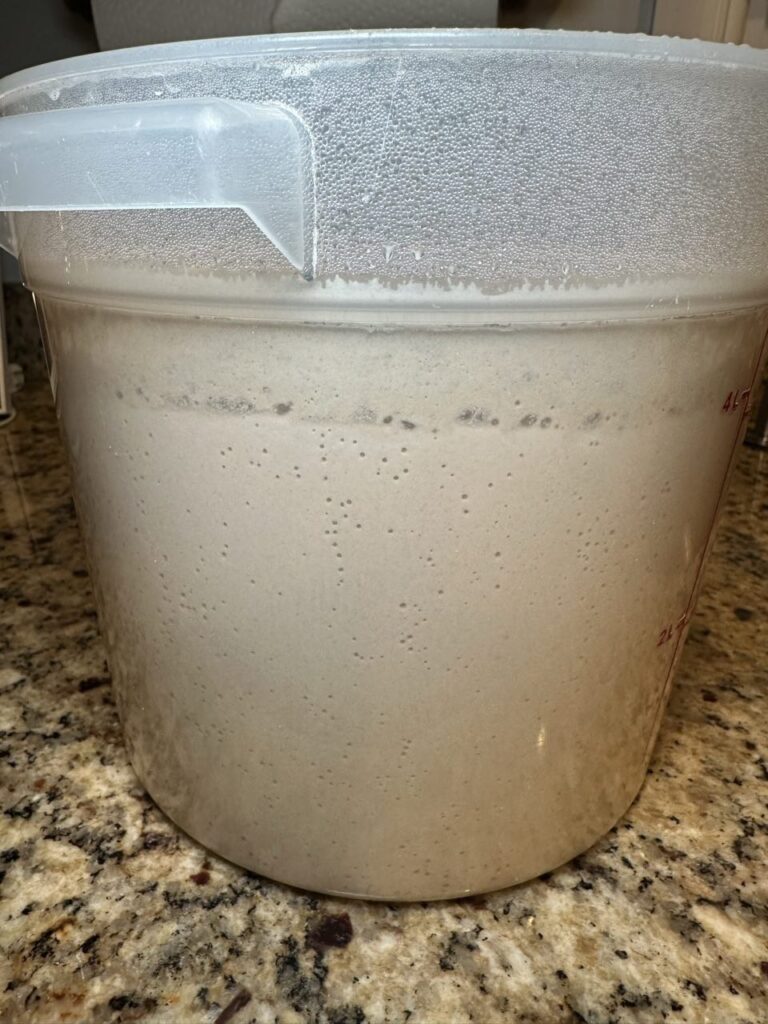
Step 3:
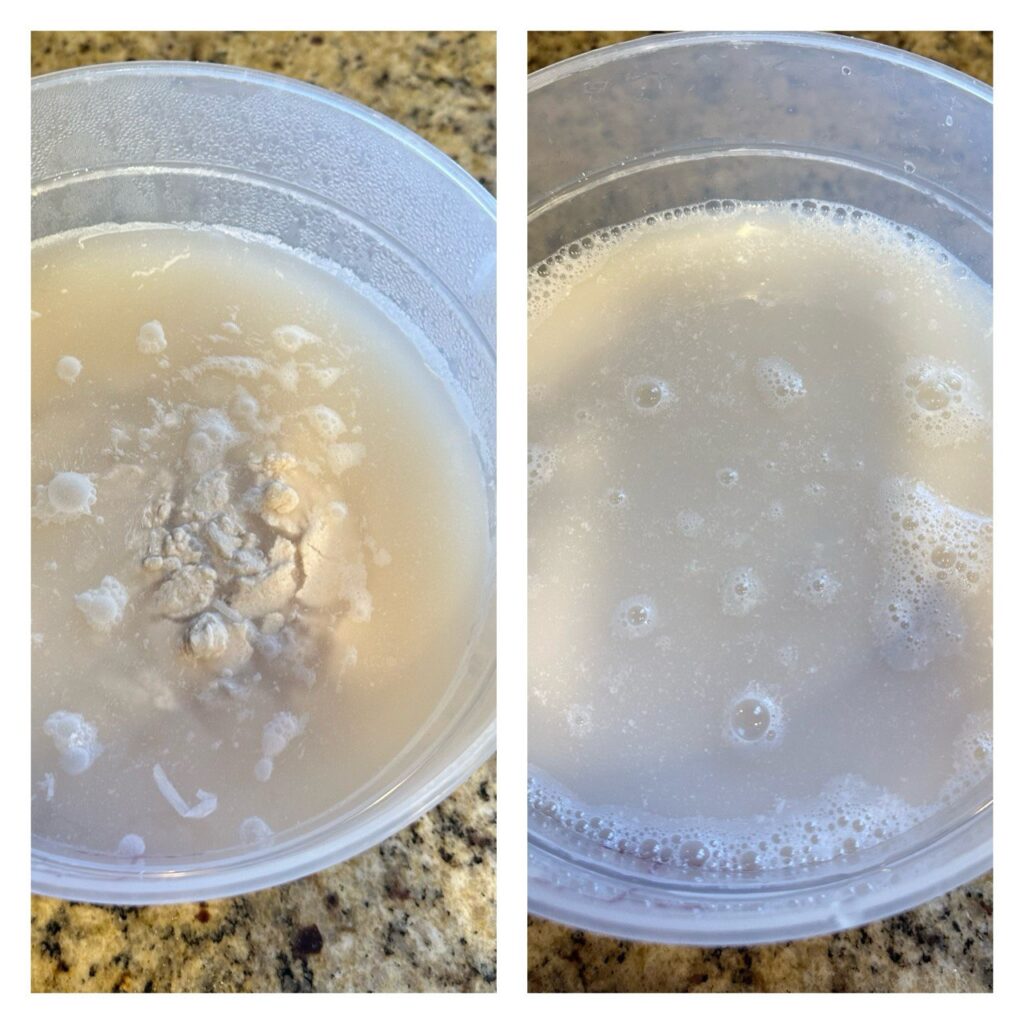
On the following day, check your starter. It will have a stinky smell and bubbles on the surface (this depends on the temperature.
if it is warm and friendly, it might need only one or two nights (my kitchen is freezing cold)).
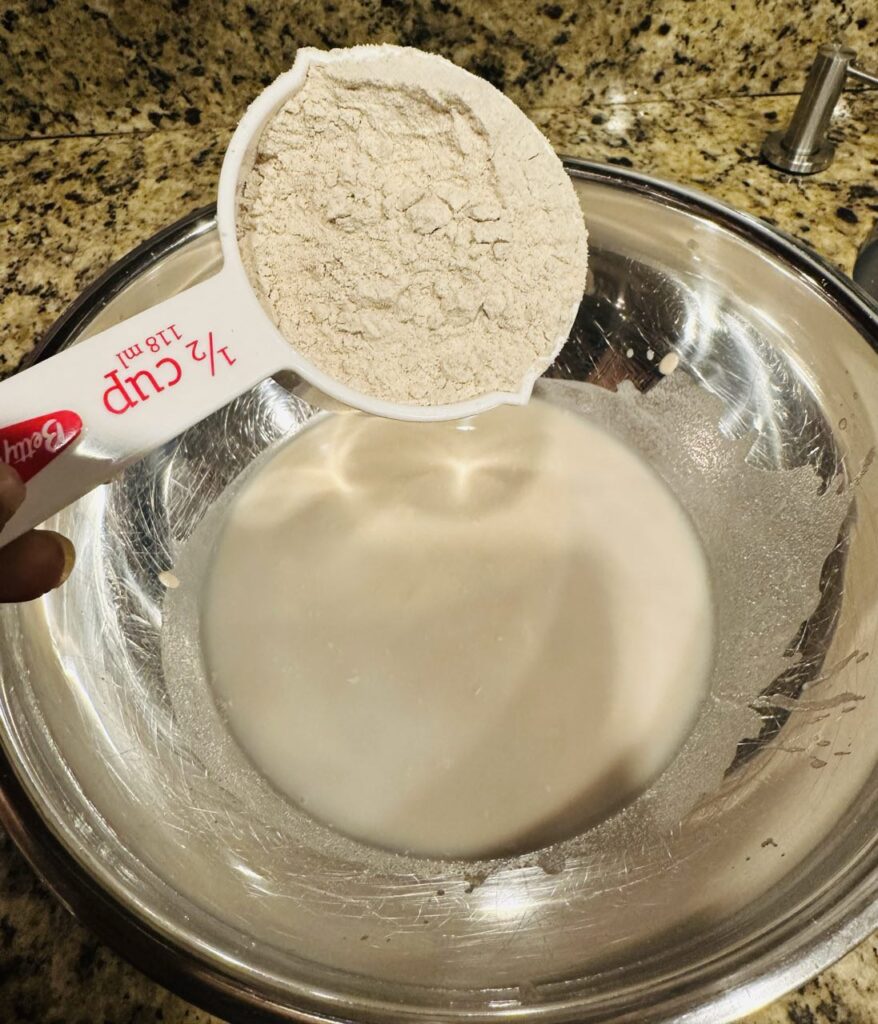
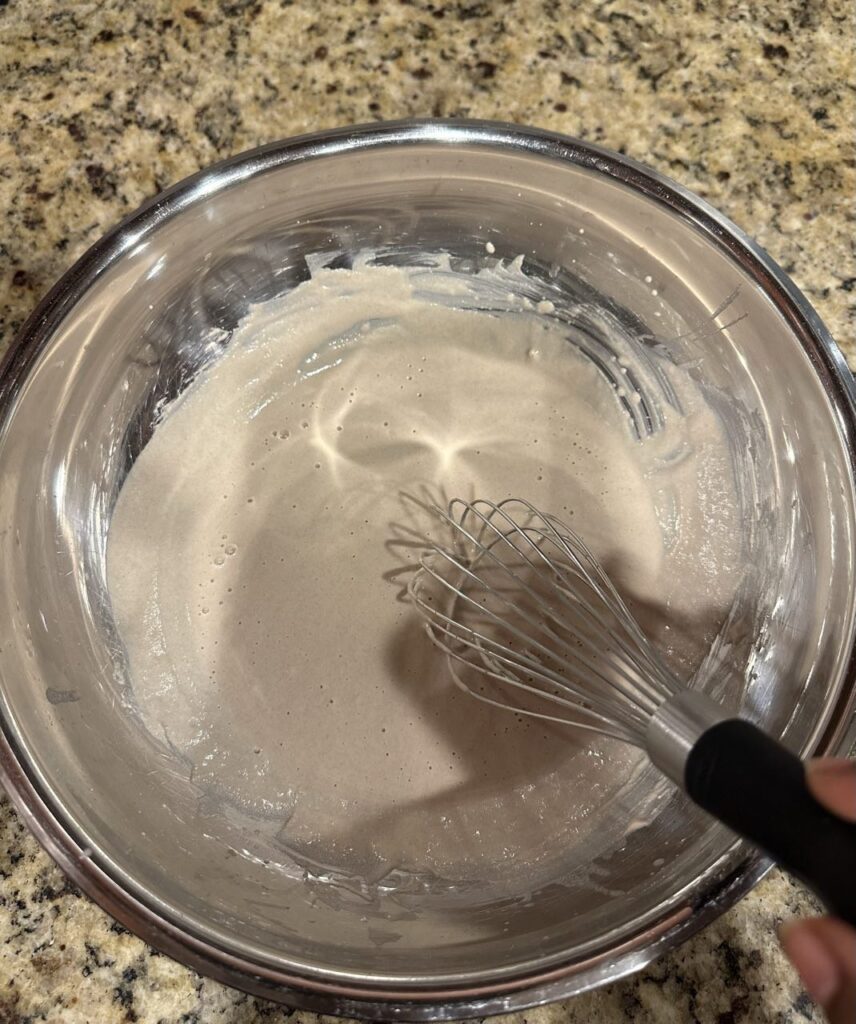
Now, in a large mixing bowl, combine the teff flour and your starter warm water into the flour mixture. Stir until well combined and the batter is smooth.
I used my kitchen aid mixer. You can mix by hand as well.
Step: 4
On the 3rd day, boil a cup of water and take half a cup of batter from your mix to make Absit.
(It is an optional step; it will make your injera stay softer for days)
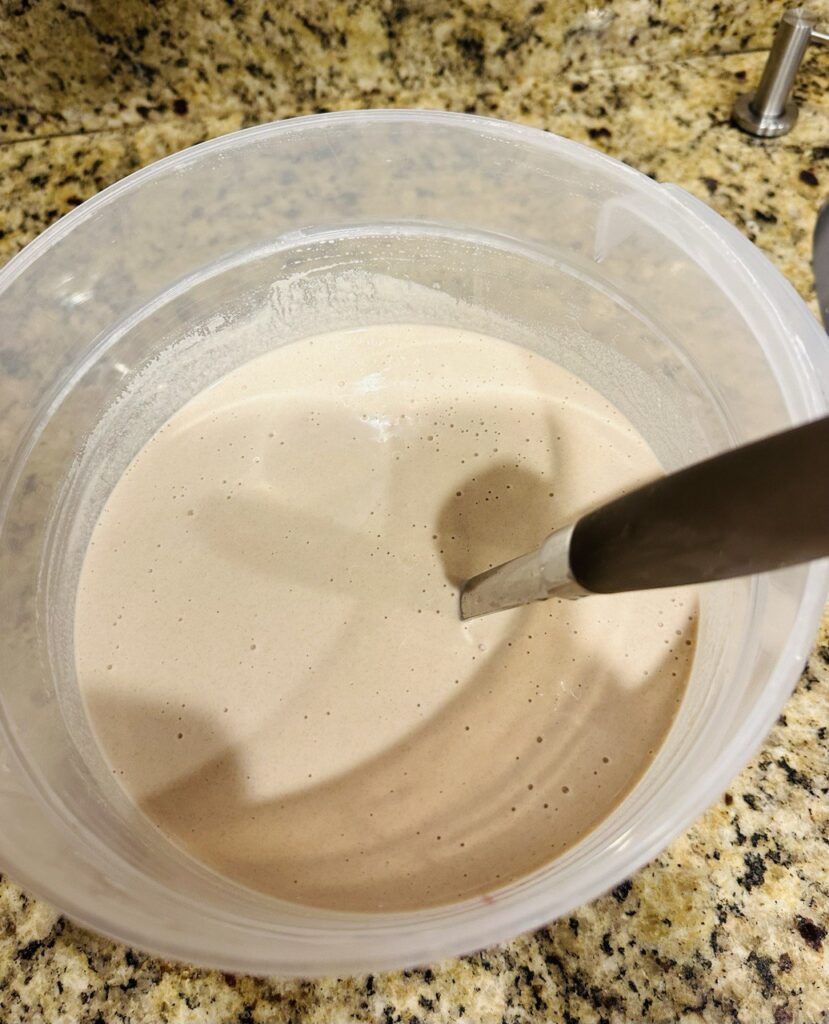
Here, I take another step and blend the absit and the batter in a food processor. I use my Kitchen Aid mixer for this; this gives me the right consistency and bubbles (this step is only for the US; in Ethiopia, nobody does that. I don’t know why I can’t explain this process). Pour it back into the large bowl. Set aside. Let it rest for the next day.
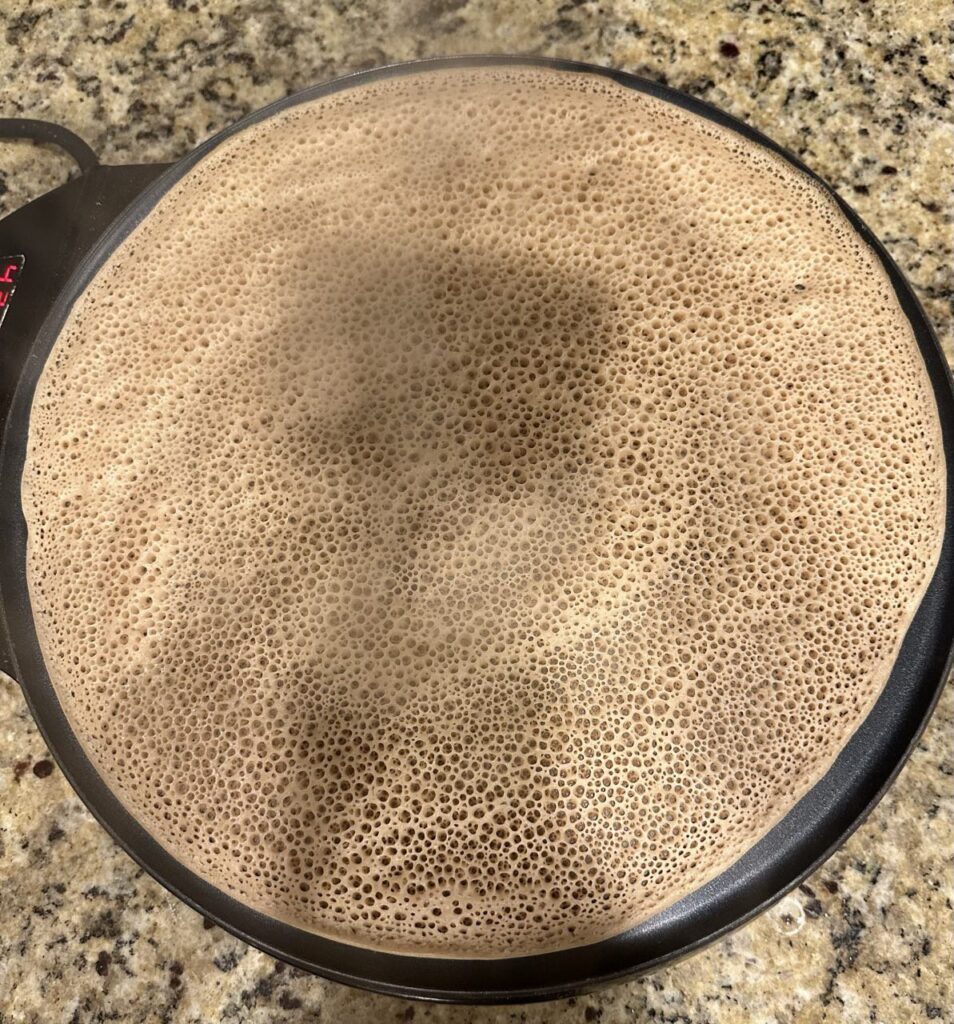
Step 5:
In the final step, the batter is raised bubbly and ready.
Heat a non-stick skillet or a large griddle over medium heat. Do not grease the pan. Pour a ladleful of the batter onto the hot skillet,
spreading it out in a circular motion to form a thin, crepe-like pancake. Cook the injera for about 2 minutes or until the surface is covered with small holes and the edges start to lift.
Carefully remove the injera from the skillet and transfer it to a plate. Repeat the process with the remaining batter. Stack the injera on top of each other to keep them soft and moist.
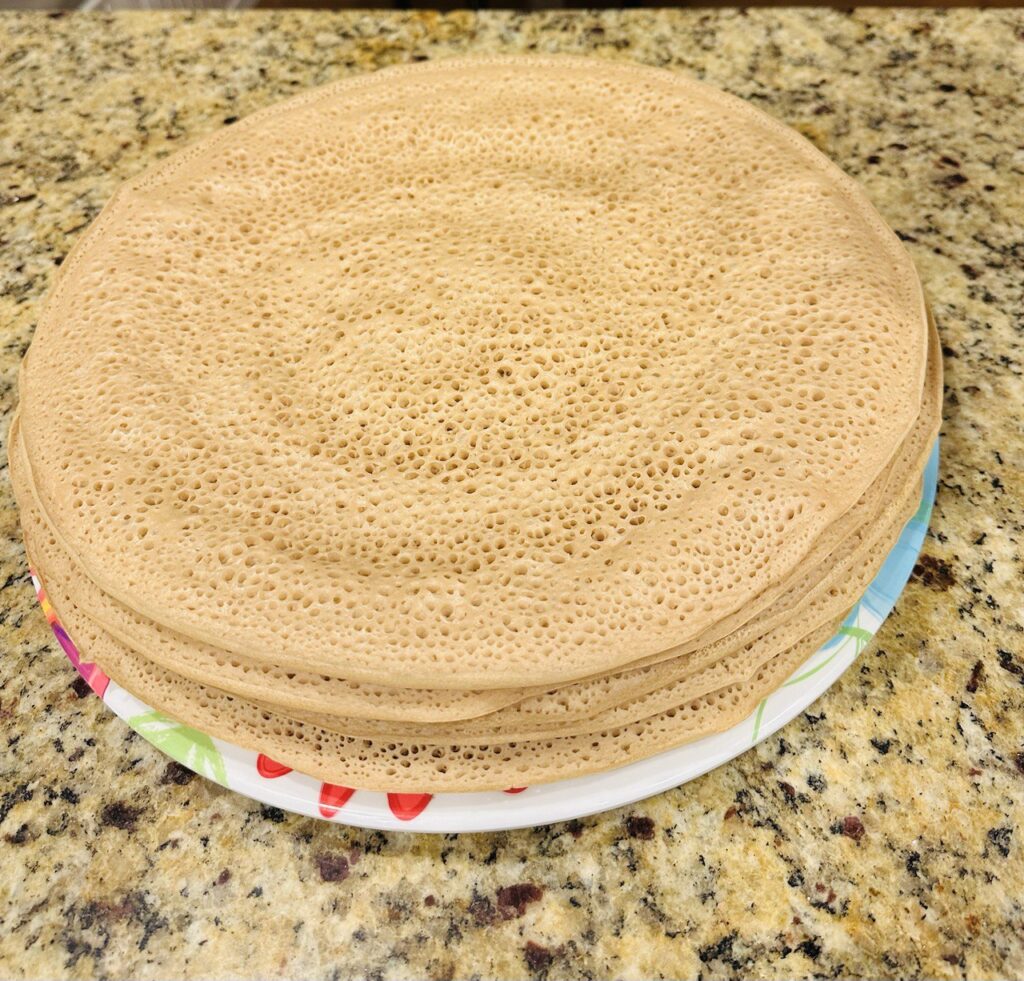
Stack the injera on top of each other to keep them soft and moist. Injera is traditionally served with a variety of Ethiopian stews and dishes.
You can use it to scoop up the stews or roll it up like a wrap. Finally, don’t forget to save a ‘starter‘for your future injera-making.
Leave a Reply